Enhancing Your Home’s Interior with a Brick Accent Wall
Adding a brick wall to your home’s interior brings warmth, character, and a touch of rustic charm to any room. Brick accent walls have become a popular trend, and thanks to thin brick veneer, it’s easier than ever to install one in your living room, kitchen, or bedroom.
Here’s a comprehensive guide on how to add a brick wall feature to your home, along with key tips to achieve a professional-looking finish.
Why Choose an Exposed Brick Wall?
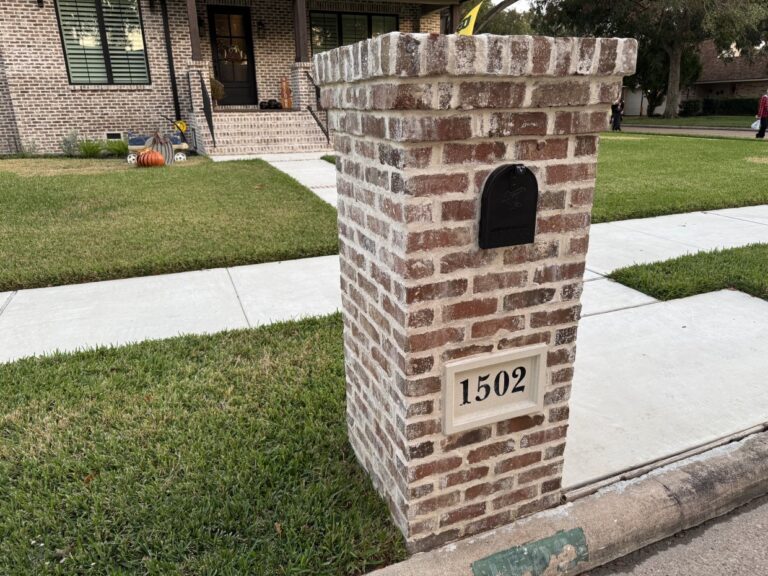
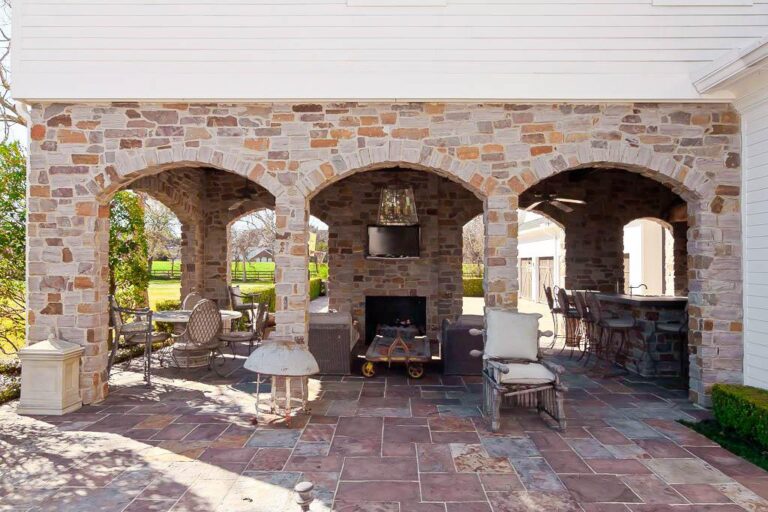
Exposed brick walls are loved for their timeless appeal and versatility. They add depth and texture to spaces, creating a visually captivating focal point that pairs beautifully with various design styles.
From rustic and industrial to contemporary chic, brick walls offer a unique way to enhance your home’s interior. And with options like whitewashed or painted black brick, the aesthetic possibilities are endless.
Using Thin Brick for Interior Design
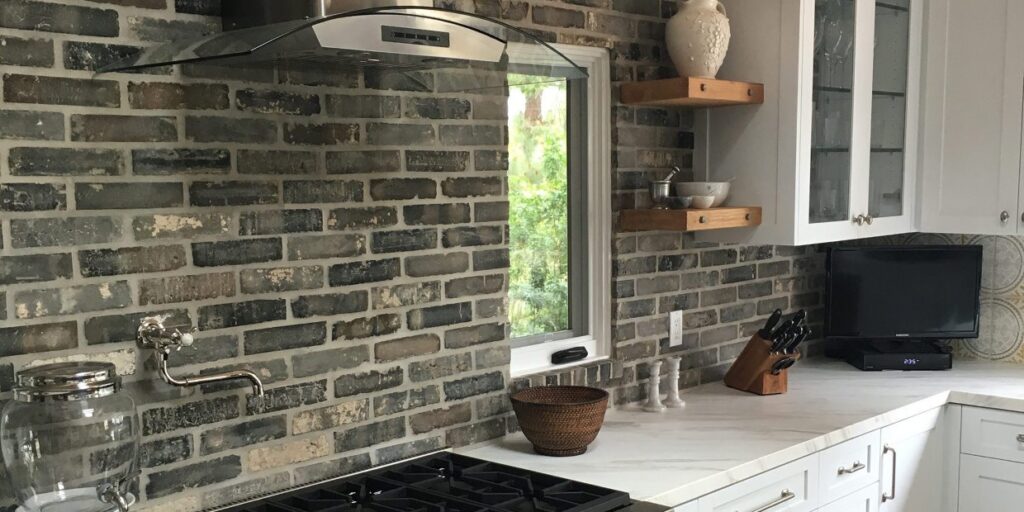
Thin bricks are specially designed for interior walls. Unlike full-sized bricks, they’re lighter and easier to handle, making them perfect for DIY installation. They come in different shapes and textures, allowing you to achieve the classic look of brick without the labor-intensive work of laying full bricks.
Thin bricks can even be installed over drywall, offering flexibility for most wall surfaces.
DIY vs. Professional Installation
Installing a brick wall can be a rewarding DIY project, but it requires patience, the right materials, and some skill. If you’re hesitant or want a flawless finish, professional masons can handle the job efficiently.
For a DIY approach, thin brick veneer is much easier to work with than traditional bricks and yields impressive results.
Steps to Install a Thin Brick Wall
1. Gather Your Supplies
- Thin bricks of your choice
- Thin-set adhesive, mortar, and a notched trowel
- Tile spacers and a grout bag
- Level and tape measure
- Drop cloth and painter’s tape for protecting surfaces
2. Prepare the Wall
Make sure the wall is clean and smooth. Tape off the area and protect the floor with a drop cloth. Using a trowel, apply a thin layer of adhesive in small sections.
3. Apply the Bricks
Start at the bottom and work your way up, using spacers to ensure even placement. Apply pressure to each brick to adhere it securely to the wall. Alternate brick seams for a traditional look, and make sure to check that each row is level.
4. Grouting
Once the adhesive dries, use a grout bag to fill the spaces between bricks. Smooth out the grout with a paintbrush handle or your gloved finger for a polished finish. Allow the grout to dry completely before any additional styling.
Finishing Touches
After the brick wall is complete, you can choose to keep it natural, apply a whitewash, or even paint it to match your design aesthetic. A whitewashed finish brightens the room, while a solid black or painted wall makes a bold, dramatic statement.