Table of Contents
How to Do Brick Tuckpointing: A Complete Step-by-Step Guide
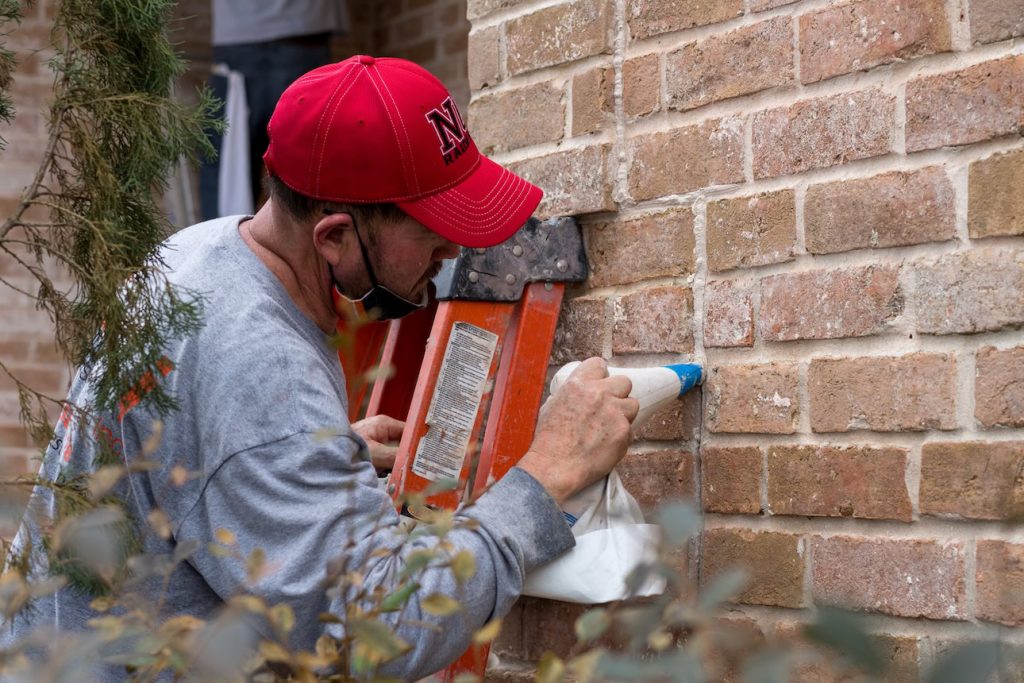
Brick buildings have stood the test of time for centuries, largely due to the strength of their mortar joints. However, over time, even the toughest mortar begins to deteriorate. That’s where tuckpointing comes in—a process that not only restores the structural integrity of your wall but also enhances its visual appeal.
In this comprehensive guide, you’ll learn how to do brick tuckpointing, from spotting signs of wear to mastering the repair process. Whether you’re a DIY enthusiast or simply exploring options before hiring a pro, this article has got you covered.
Understanding Brick Tuckpointing
What is Tuckpointing?
Tuckpointing is the process of removing deteriorated mortar from the joints between bricks and replacing it with fresh mortar. This technique strengthens the structure and prevents water infiltration.
Why Tuckpointing is Important for Masonry Maintenance
Cracked or crumbling mortar can allow moisture to penetrate, leading to severe damage, including mold growth and structural compromise. Timely tuckpointing preserves both appearance and longevity.
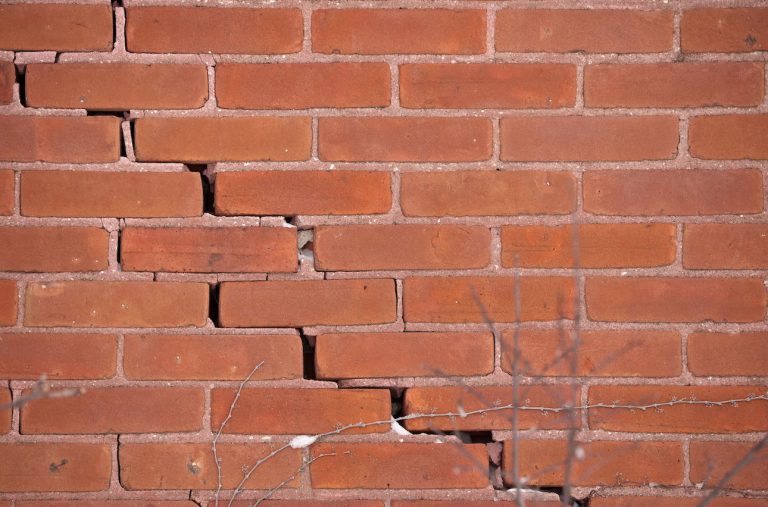
Signs Your Brick Wall Needs Tuckpointing
Crumbling Mortar
If mortar between your bricks is flaking or powdery, it’s a sign that it has lost its bonding strength.
Water Infiltration and Damage
Leaky interior walls or moisture spots could be the result of failed mortar joints.
Structural Instability
Loose or shifting bricks often signal the need for urgent tuckpointing.
Tools and Materials Needed
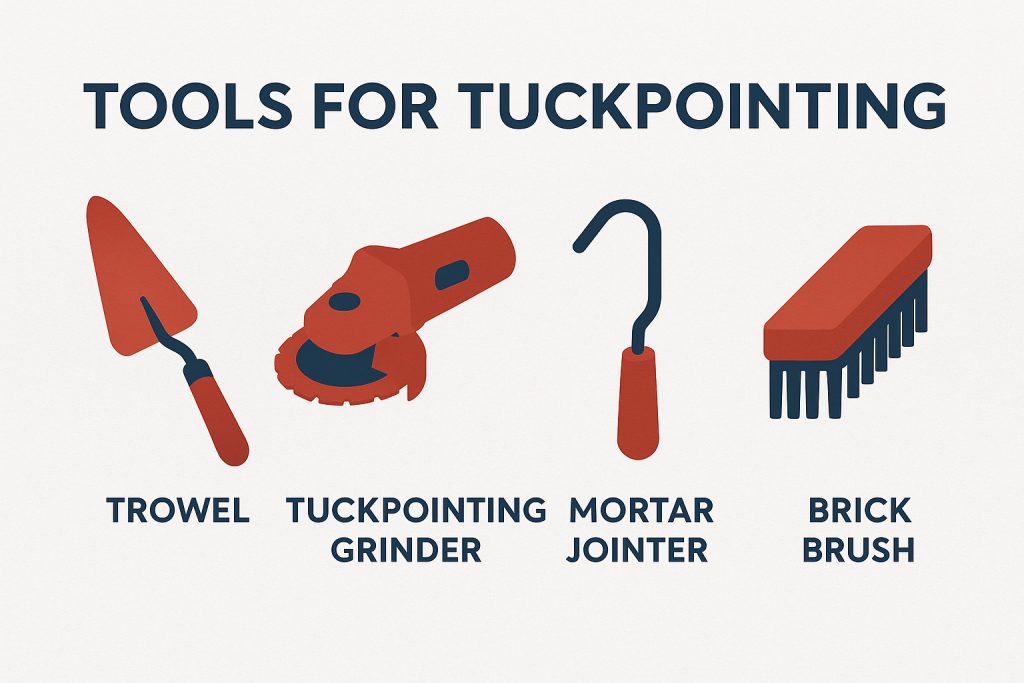
Essential Tools
- Mortar chisel or angle grinder
- Pointing trowel
- Tuckpointing tool
- Mortar board
- Wire brush
Recommended Mortar Mix
A Type N mortar mix is typically ideal for most brick homes. It provides a good balance of strength and flexibility.
Safety Gear
- Dust mask
- Safety goggles
- Work gloves
- Hearing protection (if using power tools)
Preparing for the Tuckpointing Process
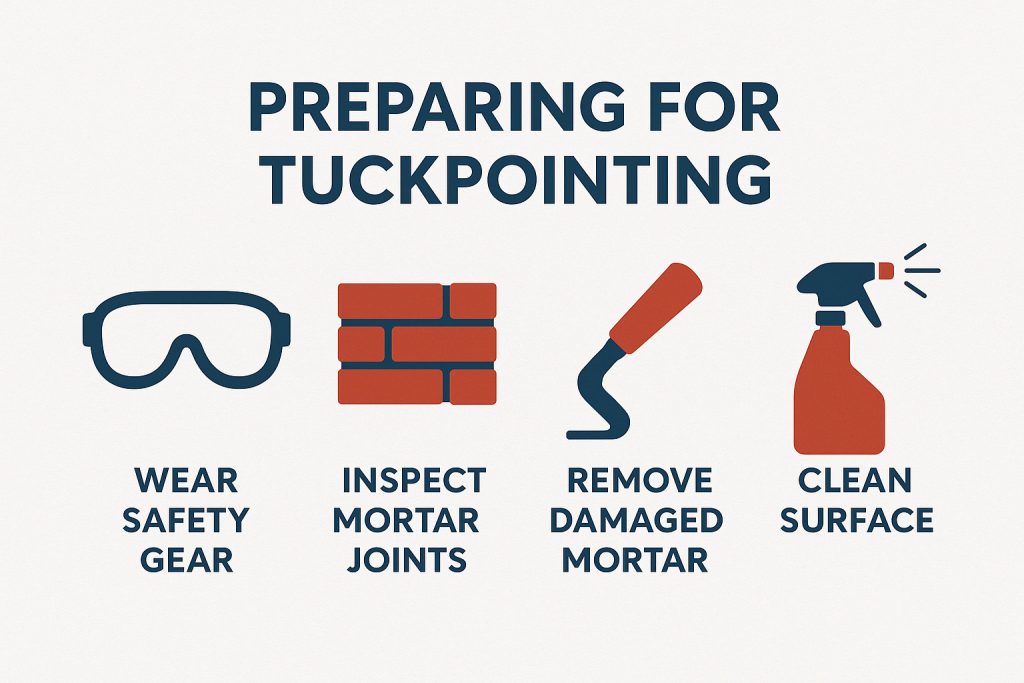
Cleaning the Wall Surface
Before starting, use a wire brush to clean off dirt and loose mortar. Rinse with water and allow to dry.
Removing Damaged Mortar
Use a chisel or angle grinder to dig out the old mortar to a depth of about ¾ inch. Be cautious not to damage the surrounding bricks.
How to Mix Mortar for Tuckpointing
Choosing the Right Mortar Ratio
Generally, a 1:1:6 mix (cement, lime, sand) is used. Always match the new mortar as closely as possible to the old one for consistency.
Mixing Techniques and Consistency Tips
Mix until the mortar is peanut butter-thick. Let it rest for a few minutes before use for better workability.
Step-by-Step Tuckpointing Instructions
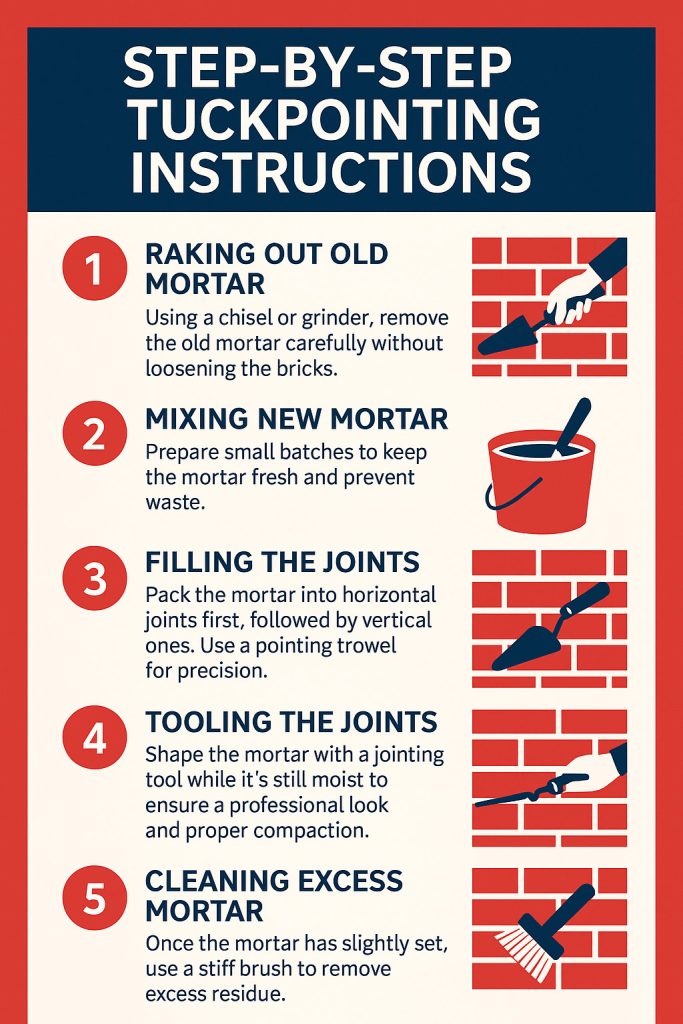
Step 1 – Raking Out Old Mortar
Using a chisel or grinder, remove the old mortar carefully without loosening the bricks.
Step 2 – Mixing New Mortar
Prepare small batches to keep the mortar fresh and prevent waste.
Step 3 – Filling the Joints
Pack the mortar into horizontal joints first, followed by vertical ones. Use a pointing trowel for precision.
Step 4 – Tooling the Joints
Shape the mortar with a jointing tool while it’s still moist to ensure a professional look and proper compaction.
Step 5 – Cleaning Excess Mortar
Once the mortar has slightly set, use a stiff brush to remove excess residue.
Tuckpointing Techniques for Better Durability

Joint Finishing Styles
Popular finishes include concave, V-joint, and flush joints. Each offers different levels of water resistance and visual style.
Moist Curing Tips
Keep the wall moist for 3–4 days to allow the mortar to cure properly. Mist it lightly a couple of times a day.
Mistakes to Avoid During Tuckpointing
Using the Wrong Mortar
One of the most common errors is mismatching the mortar. Using mortar that’s too hard (like Portland cement without lime) can cause bricks to crack, especially in older buildings.
Rushing the Process
Tuckpointing isn’t a job you can rush. Skipping steps like proper curing or inadequate joint cleaning can lead to premature failure.
Maintenance Tips After Tuckpointing
Sealing the Joints
After the mortar cures, applying a breathable masonry sealant can add an extra layer of protection against moisture.
Routine Inspection and Repairs
Check your brickwork annually for signs of wear, especially after harsh weather. Prompt repairs can extend the life of your tuckpointing job by decades.
DIY vs. Hiring a Professional
When DIY is Practical
DIY tuckpointing is a cost-effective option for small, non-structural areas like garden walls or chimneys. It’s perfect for homeowners who are handy and patient.
Cost Comparison
- DIY: Around $50–$150 for tools and materials.
- Professional: $8–$15 per square foot depending on location and damage severity.
Finding a Qualified Mason
Look for certified masons with strong reviews and experience in historic restoration if your property is older or requires specialized care. Sites like Angi or HomeAdvisor can be good places to start.
Estimated Costs and Timeframe
Average Tuckpointing Costs
- DIY: As low as $0.50 per square foot
- Pro Services: $500–$2,500 for a typical house wall section
Time Required per Square Foot
- A skilled DIYer can tuckpoint 10–15 square feet per day.
- Professionals may cover over 25 square feet per day.
Conclusion
While tuckpointing can be a rewarding DIY project for small repairs, it’s important to recognize it’s limitations. Improper mortar selection, rushed application, or uneven joint finishing can compromise both the appearance and structural integrity of your brickwork.
That’s why for larger areas, older homes, or any load-bearing walls, hiring a professional like Brick Restoration, Inc. is the smarter long-term investment. With decades of experience, specialized tools, and expert craftsmanship, their team ensures a durable, seamless finish that protects your property for years to come, saving you time, money, and future headaches.

Great, very thorough guide on tuckpointing! I especially liked the step-by-step breakdown — it really helps homeowners understand when mortar needs replacing and how proper technique protects brickwork from water damage and structural issues. If anyone in the Totowa, NJ area needs help restoring their chimney or brick joints, Brick Pointing Totowa NJ offers expert tuckpointing and masonry services to match existing mortar and preserve your home’s integrity. And for related needs like Chimney Repair Bergen County NJ, Royale Chimney Repair has reliable solutions that keep chimneys safe and functioning for years.